How to Use Ooni Pizza Oven: The Ultimate Guide
Introduction
Are you a pizza lover who dreams of making restaurant-quality pizzas in the comfort of your own backyard? Look no further than the Ooni Pizza Oven! This innovative and portable oven allows you to create delicious, wood-fired pizzas with ease. In this comprehensive guide, we will walk you through everything you need to know about how to use the Ooni Pizza Oven to achieve perfect pizzas every time. Whether you're a seasoned chef or a complete beginner, we've got you covered!
Table of Contents
- Getting to Know the Ooni Pizza Oven
- Preparing Your Ooni Pizza Oven
- Choosing the Right Fuel
- Lighting the Ooni Pizza Oven
- Preheating the Oven
- Preparing the Pizza Dough
- Rolling Out the Pizza Dough
- Adding Sauce and Toppings
- Sliding the Pizza Into the Oven
- Monitoring the Cooking Process
- Rotating the Pizza
- Removing the Pizza from the Oven
- Allowing the Pizza to Rest
- Slicing and Serving
- Cleaning and Maintenance
- Troubleshooting Common Issues
- Frequently Asked Questions (FAQs)
- Conclusion
Getting to Know the Ooni Pizza Oven
Before we dive into the details of how to use the Ooni Pizza Oven, let's take a moment to familiarize ourselves with this remarkable cooking device. The Ooni Pizza Oven is a compact, portable, and lightweight oven that is specifically designed for making pizzas. It utilizes the power of wood or gas to reach incredibly high temperatures, allowing you to achieve the perfect crispy crust and melty cheese in a matter of minutes.
The oven is constructed using high-quality materials such as stainless steel, which ensures durability and efficient heat retention. The compact design makes it easy to transport and store, making it a popular choice for outdoor cooking enthusiasts, camping trips, and backyard gatherings.
Preparing Your Ooni Pizza Oven
To ensure optimal performance and longevity of your Ooni Pizza Oven, it's essential to properly prepare it before each use. Follow these steps to get your oven ready:
- Remove Packaging: Carefully unpack the oven, ensuring that all components are present and undamaged.
- Check for Loose Parts: Double-check that no parts have come loose during transportation.
- Clean the Oven: Wipe down the interior and exterior surfaces of the oven using a damp cloth to remove any dust or debris.
- Inspect the Burner: If you have a gas-powered Ooni Pizza Oven, inspect the burner and gas connections to ensure they are secure and in good condition.
- Read the Manual: Familiarize yourself with the manufacturer's instructions and safety guidelines provided in the user manual.
Choosing the Right Fuel
One of the key factors in achieving authentic wood-fired flavor is selecting the right fuel for your Ooni Pizza Oven. The two primary options are wood and gas, each offering its own unique benefits. Let's explore both options:
Wood
Using wood as a fuel source adds a distinct smoky flavor to your pizzas, creating an authentic wood-fired taste. Here's how to use wood in your Ooni Pizza Oven:
- Select the Right Wood: Choose hardwoods like oak, cherry, or maple, as they burn longer and produce more heat compared to softwoods.
- Prepare the Wood: Cut the wood into small logs or use wood pellets designed for pizza ovens.
- Create a Fire: Place a small amount of kindling or firelighters in the oven's firebox. Arrange the wood pieces in a teepee shape and light the fire.
- Maintain the Fire: Gradually add more wood to maintain a steady flame. Allow the fire to burn for at least 20-30 minutes until the oven reaches the desired temperature.
Gas
Using gas as a fuel source provides convenience and quicker heating times. Here's how to use gas in your Ooni Pizza Oven:
- Connect the Gas Source: Attach a compatible gas tank or canister to the gas inlet of the oven.
- Check for Leaks: Apply a solution of soapy water to the gas connections and look for bubbles. If bubbles appear, there may be a gas leak, and you should tighten the connections or seek professional assistance.
- Ignite the Burner: Turn the gas control knob to the "Ignite" position and use a long lighter or matchstick to light the burner.
- Adjust the Flame: Once the burner is ignited, adjust the flame height using the gas control knob according to the desired temperature.
Lighting the Ooni Pizza Oven
To start the cooking process, you'll need to light the Ooni Pizza Oven. The method differs slightly depending on whether you're using wood or gas as your fuel source.
Lighting with Wood
- Prepare the Firebox: Remove the oven door and place it aside. Arrange small pieces of kindling or firelighters in the firebox.
- Light the Fire: Using a long lighter or matchstick, ignite the kindling or firelighters. Ensure the flames catch and start to spread.
- Add Wood: Once the kindling is burning steadily, add a few small pieces of wood to the firebox. Continue adding wood as needed to maintain the fire.
Lighting with Gas
- Check the Gas Connection: Ensure that the gas tank or canister is securely connected to the oven.
- Open the Gas Valve: Slowly turn the gas control knob counterclockwise to open the gas valve.
- Ignite the Burner: Use a long lighter or matchstick to ignite the burner through the designated ignition port. Make sure to keep your face and hands away from the flame.
- Adjust the Flame: Once the burner is ignited, adjust the flame height using the gas control knob according to the desired temperature.
Preheating the Oven
Preheating the Ooni Pizza Oven is crucial to achieving optimal cooking temperatures for that perfect pizza. The preheating process may vary depending on your chosen fuel source.
Preheating with Wood
- Add Sufficient Wood: Ensure you have enough wood to maintain the fire throughout the preheating process and the entire cooking session.
- Monitor Temperature: Use an oven thermometer or the built-in thermometer (if available) to monitor the oven's internal temperature. Wait until it reaches the desired temperature range for your specific pizza recipe.
Preheating with Gas
- Adjust Flame Height: Set the gas control knob to the desired flame height, which corresponds to the target temperature for your recipe.
- Monitor Temperature: Use an oven thermometer or the built-in thermometer (if available) to monitor the oven's internal temperature. Wait until it reaches the desired temperature range for your specific pizza recipe.
Preparing the Pizza Dough
Now that your Ooni Pizza Oven is preheating, it's time to prepare the pizza dough. While store-bought dough is a convenient option, making your own dough allows for customization and experimentation. Follow these steps to prepare the perfect pizza dough:
- Gather Ingredients: Prepare your ingredients, including flour, yeast, water, salt, and optionally, olive oil or sugar.
- Mix Dry Ingredients: In a large mixing bowl, combine the flour and salt. If desired, add a small amount of sugar for sweetness or olive oil for added richness.
- Activate the Yeast: In a separate container, dissolve the yeast in warm water according to the package instructions. Let it sit for a few minutes until it becomes frothy.
- Combine Wet and Dry Ingredients: Gradually pour the yeast mixture into the bowl of dry ingredients, stirring with a wooden spoon or your hands until a dough starts to form.
- Knead the Dough: Transfer the dough onto a clean, floured surface. Knead the dough by folding it over itself, pushing with the heel of your hand, and repeating until it becomes smooth and elastic.
- Allow the Dough to Rise: Place the dough in a greased bowl and cover it with a damp cloth. Allow it to rise in a warm, draft-free area for about an hour or until it has doubled in size.
Rolling Out the Pizza Dough
With the dough prepared and risen, it's time to roll it out into the desired pizza shape. Follow these steps for a perfectly thin and even crust:
- Prepare the Work Surface: Dust a clean, flat surface with flour to prevent the dough from sticking.
- Divide the Dough: If your recipe yields multiple pizzas, divide the dough into equal-sized portions. Cover the portions you're not working with to prevent them from drying out.
- Flatten the Dough: Take one portion of the dough and press it gently with your hands to flatten it slightly. Using a rolling pin, start from the center and roll the dough outward in all directions, applying even pressure. Rotate the dough periodically to maintain a round shape.
- Stretching by Hand: If you prefer a thinner and more rustic crust, you can also stretch the dough by hand. Gently lift the dough from the edges and allow gravity to stretch it. Rotate the dough and continue stretching until the desired size and thickness are achieved.
Adding Sauce and Toppings
The next step in the pizza-making process is adding sauce and toppings to the rolled-out dough. This is where your creativity and personal taste come into play. Follow these tips for a well-balanced and flavorful pizza:
- Select Your Sauce: Choose your preferred pizza sauce, such as marinara, pesto, or white sauce. Spread a thin layer evenly over the surface of the dough, leaving a small border around the edges for the crust.
- Consider Cheese: Mozzarella cheese is a classic choice for pizza, but feel free to experiment with other types like cheddar, fontina, or fresh buffalo mozzarella. Grate or slice the cheese and distribute it evenly over the sauce.
- Add Your Toppings: This is where you can get creative! Select your favorite toppings, such as pepperoni, mushrooms, bell peppers, onions, olives, or fresh basil. Arrange them evenly across the pizza, taking care not to overload it with too many toppings.
- Season and Drizzle: Sprinkle the pizza with a pinch of salt, black pepper, and dried herbs like oregano or basil for extra flavor. Drizzle a small amount of olive oil over the toppings to enhance the richness.
Sliding the Pizza Into the Oven
Now that your pizza is topped and ready to go, it's time to transfer it into the hot Ooni Pizza Oven. Follow these steps for a seamless slide:
- Prepare the Pizza Peel: Sprinkle a generous amount of flour or cornmeal onto the pizza peel to prevent sticking.
- Transfer the Pizza: Carefully lift the prepared pizza and place it onto the floured peel. Gently shake the peel to ensure the pizza slides freely.
- Open the Oven Door: Open the oven door, being mindful of the intense heat inside.
- Slide the Pizza In: In one quick motion, position the peel at the back of the oven and slide the pizza onto the hot cooking surface. Use a gentle back-and-forth motion to release the pizza from the peel.
Monitoring the Cooking Process
Cooking pizza in the Ooni Pizza Oven is a fast-paced process that requires close attention. Keep an eye on the pizza to ensure it cooks evenly and doesn't burn. Here's what to do:
- Close the Oven Door: After sliding the pizza in, promptly close the oven door to retain the heat.
- Set a Timer: Depending on your recipe and desired level of doneness, set a timer for the initial cooking time specified.
- Rotate the Pizza: As the pizza cooks, it's crucial to rotate it periodically to ensure even browning. Use a pizza peel or a long-handled spatula to rotate the pizza by a quarter turn.
- Check the Crust: Keep an eye on the crust to prevent burning. You want it to develop a golden-brown color with charred spots but not become overly dark or charred.
Rotating the Pizza
Rotating the pizza during the cooking process helps achieve even heat distribution and a uniformly cooked crust. Follow these steps to rotate the pizza in your Ooni Pizza Oven:
- Use a Pizza Peel or Spatula: Carefully slide the pizza peel or a long-handled spatula under the partially cooked pizza, making sure it is well-supported.
- Lift and Rotate: Gently lift the pizza off the cooking surface and rotate it by a quarter turn in a clockwise or counterclockwise direction.
- Place It Back: Slide the pizza back onto the cooking surface, ensuring it is centered and positioned for continued cooking.
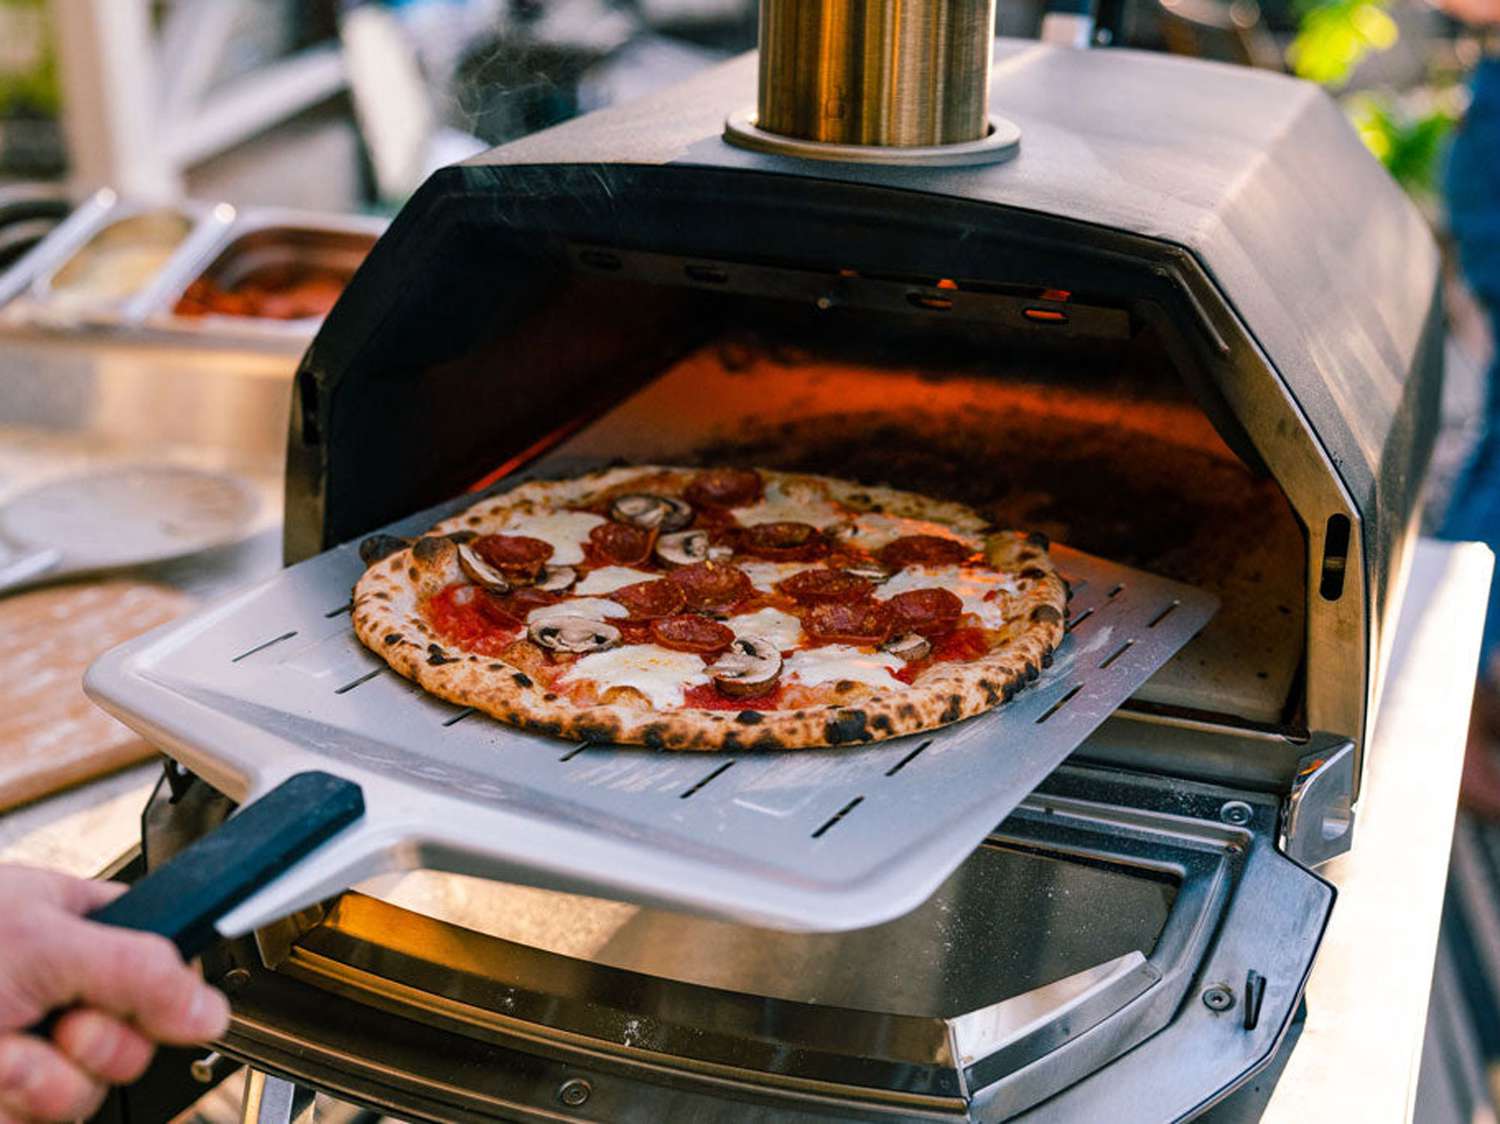
Removing the Pizza from the Oven
Once the pizza is cooked to perfection, it's time to remove it from the Ooni Pizza Oven. Follow these steps for a safe and seamless extraction:
- Turn Off the Heat Source: If using a gas-powered oven, turn off the gas supply by turning the gas control knob to the "Off" position.
- Use a Pizza Peel: Place the pizza peel under the cooked pizza, gently lifting it off the cooking surface.
- Transfer to a Cutting Board: Slide the pizza from the peel onto a cutting board or serving platter, ensuring it is well-supported to prevent any toppings from sliding off.
- Let It Cool: Allow the pizza to cool for a few minutes before slicing and serving to prevent burns and ensure optimal flavor.
Allowing the Pizza to Rest
Resting the pizza for a short period allows the flavors to meld together and prevents the toppings from sliding off when sliced. Follow these steps for the best results:
- Transfer to a Cooling Rack: If available, place the cooked pizza on a cooling rack instead of a cutting board. This allows air to circulate around the pizza, preventing the bottom from becoming soggy.
- Rest for a Few Minutes: Allow the pizza to rest for 2-3 minutes before slicing and serving. This brief resting period allows the cheese to set slightly, making it easier to cut and ensuring the toppings stay in place.
Frequently Asked Questions (FAQs)
- Q: Can I use a different type of flour for the pizza dough?
- A: Absolutely! While traditional pizza dough is typically made with all-purpose flour, you can experiment with different types of flour such as whole wheat, bread flour, or gluten-free flour to cater to dietary preferences or add a unique flavor profile.
- Q: How do I clean the Ooni Pizza Oven?
- A: Cleaning the Ooni Pizza Oven is a relatively simple process. Once the oven has cooled down, remove any leftover ashes or debris using a brush or vacuum. Wipe down the interior surfaces with a damp cloth, and if necessary, use mild dish soap. Avoid using abrasive cleaners or harsh chemicals that could damage the oven's components.
- Q: Can I cook other dishes besides pizza in the Ooni Pizza Oven?
- A: Absolutely! While the Ooni Pizza Oven is primarily designed for pizza, it can also be used to cook other dishes such as bread, roast vegetables, or even sear steaks. The high heat and versatility of the oven make it suitable for various culinary creations.
- Q: Is it safe to use the Ooni Pizza Oven indoors?
- A: No, the Ooni Pizza Oven is designed for outdoor use only. The high temperatures generated by the oven can pose a fire risk if used indoors or in enclosed spaces. Always ensure proper ventilation and use the oven in a safe outdoor setting.
Conclusion
Using an Ooni Pizza Oven allows you to create delicious, restaurant-quality pizzas in the comfort of your own backyard. By following the steps outlined in this guide, you can confidently use your Ooni Pizza Oven to achieve mouthwatering wood-fired flavor or quick and convenient gas-powered cooking. Experiment with different doughs, sauces, and toppings to unleash your creativity and enjoy the satisfaction of making homemade pizza like a pro. Happy pizza-making!