How to take self portraits with DSLR
A few of the many advantages of self-portraiture photography include the opportunity for introspection and self-reflection. As well as providing the opportunity to experiment with lighting, backgrounds, and settings, self-portraiture allows photographers to gain a thorough understanding of what it takes to convey emotion and personality through photography.
Take Lighting Into Consideration
Good lighting will reduce unwanted shadows and make your skin look better. If you understand how lighting works, you will be able to make great self-portraits without any issues. To have the most control over lighting we would advise you to get a reflector.
However, if you will be making your self-portraits in a white and bright room, you can use the walls as reflectors. If you don't have the budget to buy an expensive piece of gear such as a reflector, you could use white paper, sheets, or other white materials to redirect natural light onto yourself.
The important thing is to have bounce lighting that can act as light from a reflector.
In addition to bounce lighting, you can get creative and use any other light source you deem fit. Use candles, small or big lamps, anything. In addition to that, you can colored filter paper to change the color of the light you are using. You can do a lot of creative stuff simply by using the light sources you have around you.
When it comes to lighting that will make your face look appealing, you need to consider soft light. A soft light will make soft shadows which is the best thing you can do if you want your face to look flattering. It will also allow for even lighting, so none of the parts are going to look overlit or underlit.
Experiment With A Variety Of Different Compositions
Composition proteins to the placement of certain objects in relation to other objects within a frame. Depending on how you place something in a frame, you can create an appealing image, or you can create a busy image that is not appealing to the eye. The best way to make sure you are composing your self-portrait well is to understand the rule of thirds.
You can create a frame using the rule of thirds if you take a square grid with two horizontal and two vertical lines that intersect at four points on each side. This is the manner in which every picture frame is divided.
This compositional technique works by placing the subject of the portrait in the left or right third of the frame, depending on which direction you are shooting. Each intersection point in the frame should be used to align your main subject with the other elements of the frame.
Many DLSRs, including many smartphone cameras, have the option of displaying the Rule of Thirds grid on the screen when taking a photograph.
The human eye is drawn to points that are not in the center of a visual image. These are the points where the Rule of Thirds grid intersects with itself.
How To Use The Rule Of Thirds To Create A Self-Portrait?
The Rule of Thirds can be used to create interesting portraits because no human face is perfectly symmetrical in the first place, which means that the Rule of Thirds can be used to create interesting portraits.
- The right or left eye should be placed on one of the two points on the upper horizon.
- Photograph your subject's shoulders in line with the lower-third grid line for a more relaxed and natural look.
- Focusing the viewer's attention on the portrait is as simple as directing your subject's gaze toward one of the grid's other empty quadrants.
- When shooting for printing, it is never a good idea to include any critical information in the center of your horizontal image.
Make Sure You Have A Good Background
Treating your background as a set is the best way to make it interesting. Set design does not have to be a time-consuming or costly undertaking. Streamers have mastered the art of setting up the background. And if they can make a good-looking image with a 4K streaming camera, you can do it with a DSLR.
You can make everything look great by just arranging all of the elements you have sitting around in a way that will make the composition of your background elements appealing to the eye.
The possibilities for expressing your individuality and creativity in your home are virtually limitless. If you don't want to spend the money on "professional" backdrops, you can make one out of your draperies, sheets, or any large piece of soft material you have in your home.
Choose The Right Kit
When it comes to the features of your DSLR that make it easier for you to take the best self-portrait, we are going to talk about what Lens to use, and how to focus, zoom and manage depth of field.
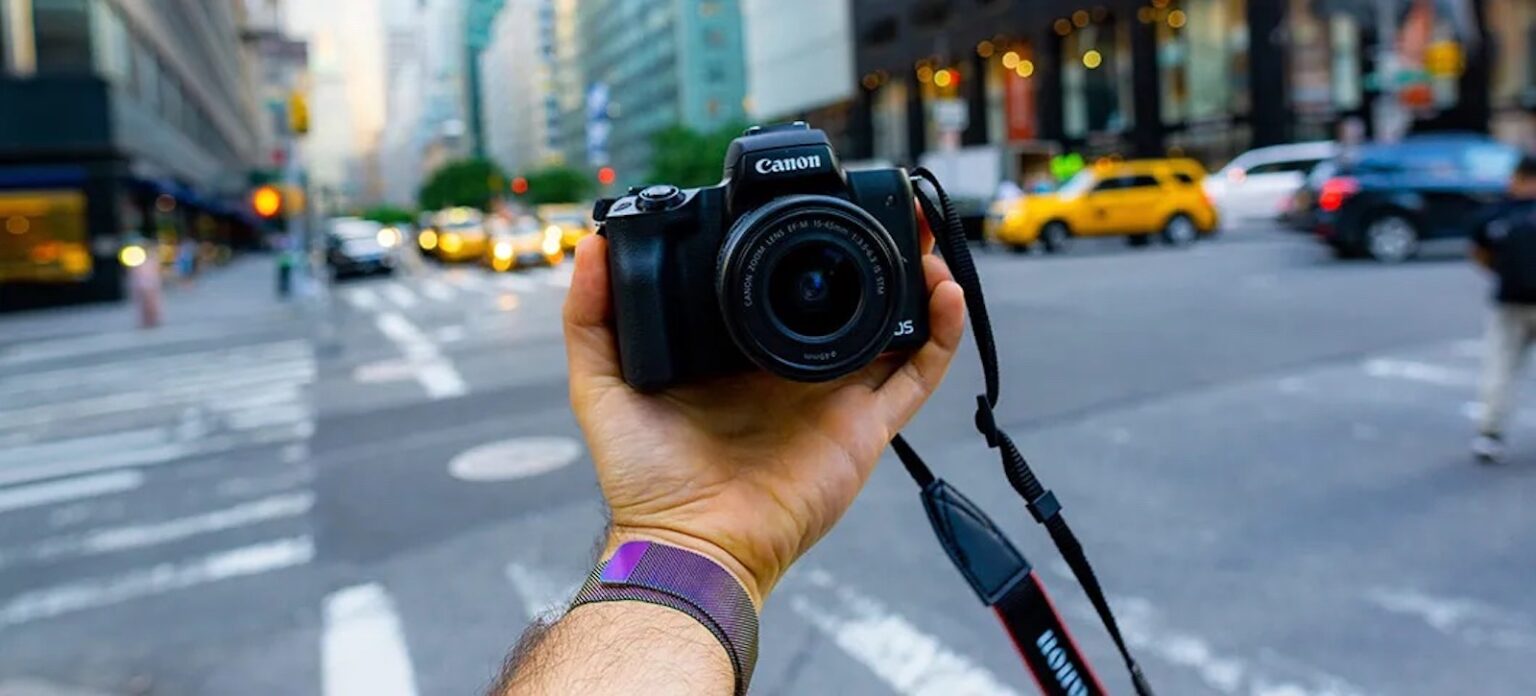
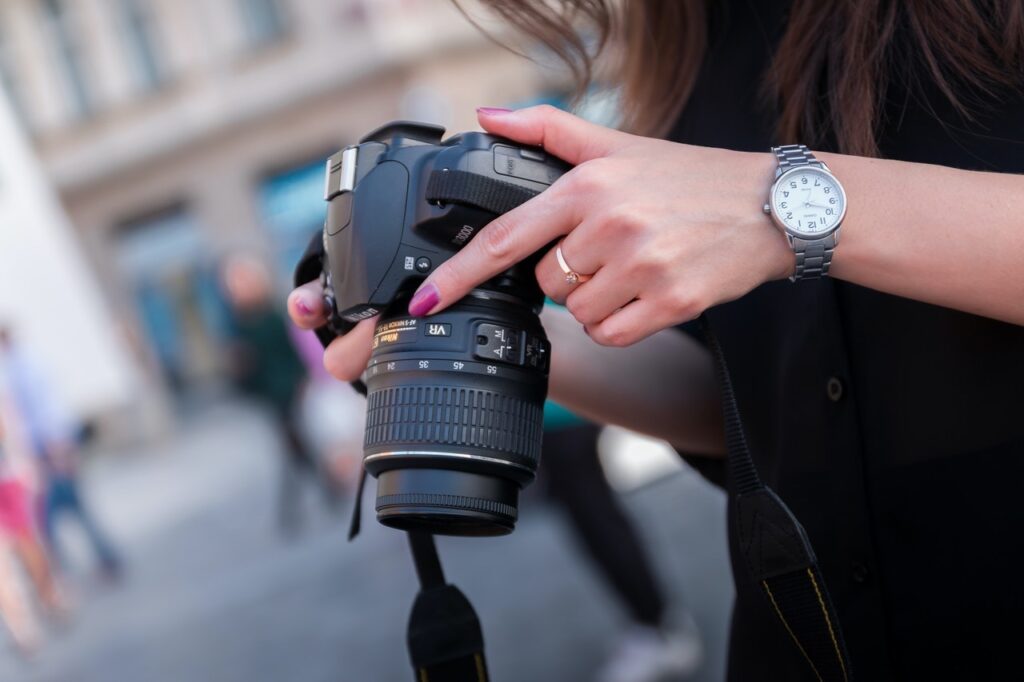
It is important to have the right gear if you want your self-portrait to look better than a simple selfie. When it comes to the lens you decide on using, for the best self-portraits, we suggest a 50mm lens. Using this lens for a self-portrait makes it easy to set up the focus.
Having a zoom lens, a wide-angle lens and a long lens on hand is also a good idea. Zoom lenses will allow you to make much more intricate and creative self-portraits. On the other hand, long and wide-angle lenses are good if you want to play with the depth of field or the width of your shot.
Consider Your Aperture
The size of the opening through which light enters a device is referred to as the "aperture."
Diffusers, also known as diaphragms, are mechanical devices used to control how much light enters the camera and strikes the image sensor or film. The diaphragms in your eyes, like your iris, adjust their size in response to the amount of light they receive by contracting or expanding.
The diameter of the opening is referred to as the aperture. Your eyes' pupils, which are dark and black, are a good analogy for this phenomenon because they are the actual orifices through which light can enter.
With a variety of lenses, you have the option of selecting from a variety of aperture settings. If you look hard enough, you can find alphanumeric symbols such as f/1.4, f/5.6, and f/22 on camera specifications, if you know where to look.
f-stops are measurements of the maximum aperture size of a lens, and each of these numbers represents a different value for the maximum aperture size. For each f-stop setting, a fractional number is used to indicate the precise diameter of the aperture.
The system, on the other hand, is based on the fact that smaller numbers correspond to larger openings, while larger numbers correspond to smaller openings. This can be a little confusing at first.
Avoid Camera Shake
Camera shake will occur if you are not holding or supporting the camera correctly. This can have a significant impact on the quality of photographs you take. Fortunately, this is a problem that you can resolve relatively quickly.
A number of cameras now have features like stabilization that can aid in preventing shaking. However, there are things that you can do to minimize or eliminate the effects of camera shake altogether.
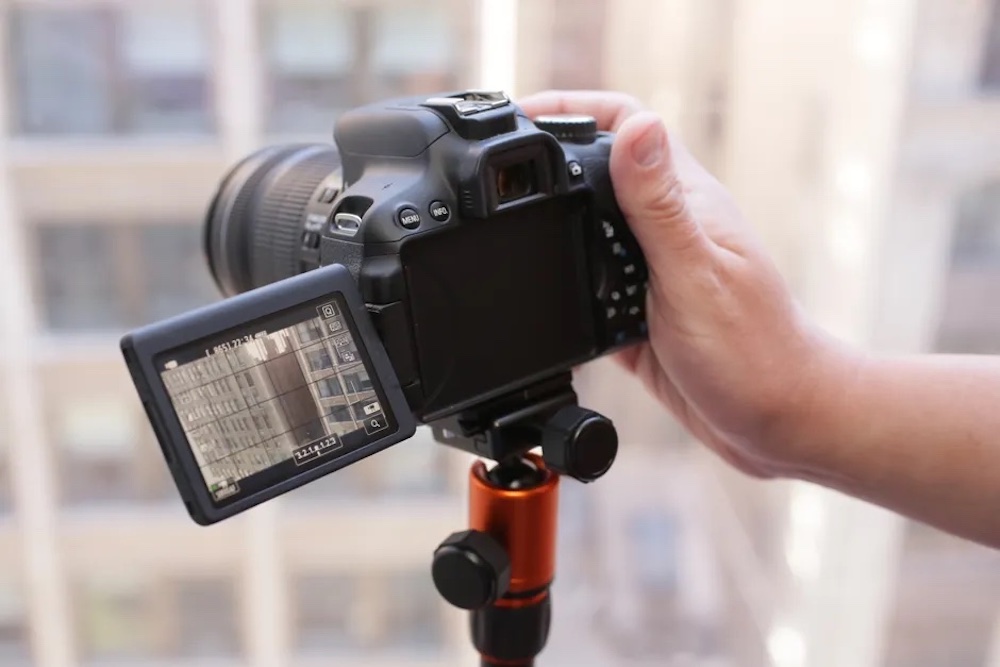
A Tripod Is Your Friend
Not having a tripod is completely fine if you plan on taking your self-portraits at home. When you are home, there are a plethora of places you can set your camera down on. However, when you leave the house, you may not be able to set your camera just anywhere.
For photographers who suffer from camera shake, using a tripod can help to improve the quality of their images significantly.
If you're traveling light, a small tripod or stand that you can attach to the bottom of your camera will come in handy for setting the camera down without having to worry about scratching the bottom of your camera body, or having to think about the camera moving after you have set it up.
Play Around With The Shutter Speed
Shutter speed determines how many frames your camera will capture in one second. The lower the shutter speed the less detail will your DSLR capture.
If you are plan on holding your camera with your hand when you take photos, we advise you to employ the highest shutter speed possible. capture It is possible that working in low light will necessitate the use of a higher ISO setting, which will allow you to capture images at faster shutter speeds.
When using a tripod, you can shoot at slower shutter speeds without having to worry about camera shake ruining your shots. This is especially useful if your camera does not consistently produce high-quality images when shooting at higher ISO levels.
Taking pictures remotely
Remote shutter releases eliminate the need to press the shutter button with one's finger, which can cause the camera to shake. If you prefer remote release, there are cameras that will allow you to trigger them with a smartphone or tablet.
For those who do not have access to a self-timer, setting a timer on their camera will ensure that the camera remains perfectly still when the exposure begins, even if they are still holding the camera.
If At All Possible Prepare First
Preparation is essential for any photoshoot. Making a great self-portrait with DSLR is not all about making a good shot. A bit of preparation will help you out a lot. You can create Mood boards, plan out the details, and decide on camera placement in advance.
Mood boards are an excellent way to decide on the lighting you will have. It is also good for fleshing out the composition and poses that you want to have in the portrait itself.
However, don't let the planning phase dictate everything you do. If you, on the day of the shoot, feel like you can add something, don't skip it just because it was not part of the preparation phase. Make use of your imagination and don't be afraid to take some risks.
In practice, ideas do not always work as intended. Because of this having fun with it is the most important thing, and if you learn something new as a result, that's an added bonus.

If All Else Fails, Find Help
If taking a good self-portrait is of much importance to you, we strongly suggest that you find someone to help you. You can hire a professional. A professional will know everything you need to do upfront.
A friend or a family member will be able to assist you in a lot of ways. They don't even need to have any previous camera experience in order to lend a hand. You will just have to set up the framing of the shot with your digital camera. The person who is helping you can do the rest.
This includes pressing the shutter for you, holding reflectors, and maintaining focus on the camera. This will save you a lot of time and patience.