How to Recover Photos from Locked SD Card
Can’t access your photos on a locked SD card? Read this guide as we explain different solutions to recover photos from an SD card that’s locked.
“Hi, My SD Card is locked and I’ve accidentally broken the unlock switch? It has all the photographs from my cousin’s wedding and I don’t want to lose them. Is there a way to recover pictures from a locked SD Card?”
After coming across this question on Quora, we understood that many users are facing a similar situation with their SD cards. Since SD cards are one of the most common storage devices, it’s safe to say that getting stuck with a locked SD card can get pretty annoying.
The good news is that there are ways to recover photos from a locked SD card. In this guide, you’ll learn how to unlock an SD card and the best ways to recover your data after you’ve removed the ‘write-protection’.
Part 1. How to Unlock an SD Card?
Solution 1 – Flip the ‘Unlock’ Switch
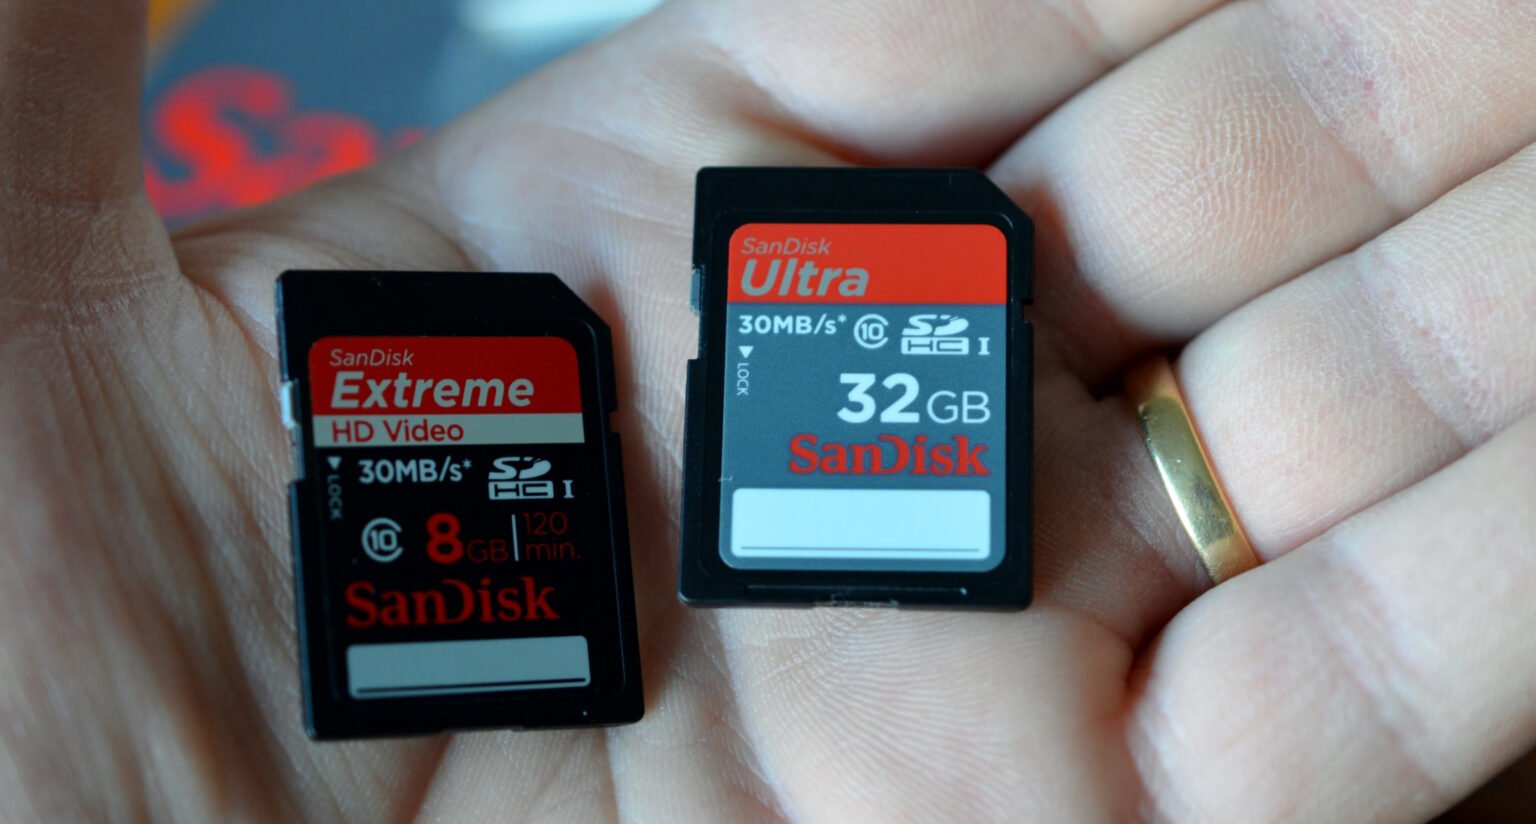
The majority of SD cards have an ‘unlock switch’ at the side. If this switch isn’t physically damaged, all you have to do is flip it to unlock the SD card. In general, the ‘unlock’ position is towards the top of the SD card. So, check your SD card and make sure to flip the switch to unlock it.

Solution 2 – Unlock Using Command Prompt
In case you’re unable to find the ‘unlock switch’ or if it’s damaged, you can also use Command Prompt on your Windows system. For people who don’t know, Windows has a built-in utility, known as DISKPART, that’s designed to help users manipulate the configurations for different storage devices.
Follow these steps to unlock an SD card using Command Prompt.
Step 1 – Open the Cortana search box and type “CMD”. Right-click “Command Prompt” and tap “Run as Administrator”.
Step 2 – Type ‘Diskpart’ and press Enter.
Step 3 – Once the Diskpart utility is launched, execute the following commands.
select disk X (Make sure to replace ‘X’ with your SD card’s number)
attributes disk clear read only

Step 4 – Now, exit Command Prompt and you’ll no longer face any restrictions due to write-protection on the SD card.
Part 2. How to Recover Files from The Unlocked SD Card
Once you’ve removed the write-protection from the SD card, the next steps would be to recover your photos. While there are different methods you can use to retrieve the photos, we recommend using a professional data recovery tool. Why? Because recovery software will also help you retrieve deleted/lost photos from the hard drive. So, in case you’ve accidentally deleted photos before locking the SD card, you’ll be able to recover them without any hassle.
We recommend using Wondershare Recoverit to recover deleted photos from an SD card. It’s a professional data recovery tool that’s designed to help users retrieve lost files from different storage devices including hard drives, SD cards, USB drives, etc. The tool supports different types of file formats, which means you’ll be able to recover all your lost data easily.
What separates Recoverit from other recovery tools is the fact that it’ll allow you to preview your files before recovering them. This means that you can easily filter through all the data to recover the desired pictures.
Solution 1. Recover Files from The Unlocked SD Card on Windows
Follow these steps to recover files from an unlocked SD card on your Windows PC.
Step 1 – Launch Recoverit on your computer and connect the SD card using a card reader. Once your PC recognizes the SD card, it’ll appear under the “External Devices” tab in Recoverit’s home screen. Select it as your location and click “Start” to proceed further.

Step 2 –Recoverit will start scanning the SD card for deleted files. Be patient because this process may take a while to complete. If you’ve already found the pictures you’re looking for, you can also tap the “Stop” button to terminate the process.

Step 3 – Now, browse through the scanned files and select the pictures that you want to get back. You can also tap the “Preview” button on the right side of the screen to check the preview for each picture.

Step 4 – Once you’ve selected the files, simply press “Recover” and choose the destination folder where you want to save them.

Solution 2. Recover Data from The Unlocked SD Card on Mac
Like Windows, you can also download Wondershare Recoverit on your Macbook and use it to retrieve the deleted photos from the SD card. While the user-interface is quite similar for both platforms, there are a few differences in the recovery process.
Follow these steps to recover photos from SD card on macOS using Wondershare Recoverit.
Step 1 – Launch Recoverit on your Macbook and insert the SD card in the slot. Now, you can either select its location on the “External Devices” tab or choose a specific folder by tapping the “Select Folder” tab.

Step 2 – Click “Start” and let RecoverIt scan your SD card for deleted files. Again, you can interrupt this process anytime you want, especially if you’ve already found the pictures that you want to recover.

Step 3 – Now, pinpoint the files that you want to restore on your PC. You can also apply filters to speed up the entire selection process.

Step 4 – Finally, click “Recover” in the bottom-right corner and choose the location where you want to restore the files.
