How to Trim a Granite Countertop: A Step-by-Step Guide
Introduction
Granite countertops are a popular choice for kitchens and bathrooms due to their durability and timeless aesthetic appeal. However, there may come a time when you need to trim your granite countertop to fit a new appliance, sink, or to accommodate a kitchen renovation. Trimming a granite countertop may seem like a daunting task, but with the right tools and knowledge, it’s a project that can be accomplished by many DIY enthusiasts. In this article, we will provide you with a step-by-step guide on how to trim granite countertop safely and effectively.
Tools and Materials You’ll Need
Before you begin the trimming process, it’s essential to gather the necessary tools and materials. Here’s a list of items you’ll need:
- Safety Gear:
- Safety glasses
- Dust mask
- Ear protection
- Gloves
- Tools:
- Circular saw with a diamond blade
- Straightedge or level
- Clamps
- Measuring tape
- Pencil or marker
- Support:
- Plywood or other sturdy material
- Sawhorses or a workbench
- Additional Supplies:
- Water (for cooling the blade and reducing dust)
- Granite-specific adhesive
Step-by-Step Guide
Now, let’s dive into the process of trimming your granite countertop:
- Safety First:
Before you begin, ensure you are wearing the necessary safety gear, including safety glasses, a dust mask, ear protection, and gloves.
- Prepare Your Work Area:
Place the countertop on a stable surface, such as sawhorses or a workbench. You may want to use plywood or other sturdy material to support the countertop securely.
- Measure and Mark:
Use your measuring tape, pencil, and straightedge to mark the area you need to trim. Double-check your measurements to avoid any mistakes.
- Set Up the Saw:
Attach the diamond blade to your circular saw, making sure it’s securely fastened. It’s crucial to use a blade specifically designed for cutting granite.
- Make the Cut:
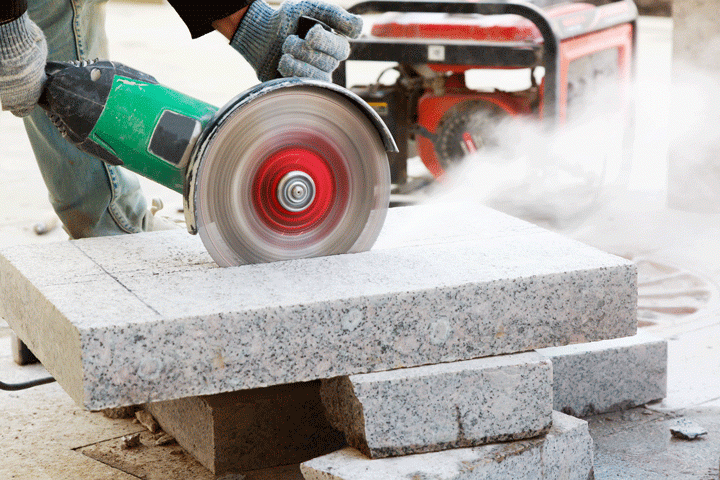
Position the saw along your marked line, ensuring the blade is on the waste side of the countertop. Start the saw and make a slow, continuous cut along the line. It’s important to use a steady hand to prevent chipping.
- Keep the Blade Cool:
To prevent overheating and minimize dust, it’s recommended to have a constant flow of water over the blade while cutting. You can use a water bottle or a garden hose for this purpose.
- Clamp a Straightedge:
To help guide the saw and maintain a straight cut, clamp a straightedge to the countertop, ensuring it aligns with your marked line.
- Smooth the Edges:
After making the cut, you may notice rough edges. Use a diamond sanding pad or a stone polisher to smooth the edges and create a finished look.
- Test the Fit:
Before finalizing the installation, check the fit of your trimmed countertop. Ensure it matches the appliance or sink you’re installing.
- Apply Granite Adhesive:
If needed, use granite-specific adhesive to secure the trimmed piece in its new location. Follow the manufacturer’s instructions for the adhesive.
- Clean Up:
Finally, clean up the work area and remove any dust or debris. Properly dispose of any waste material and used diamond blades.
Conclusion
Trim granite countertop may seem like a challenging task, but with the right tools, safety precautions, and careful execution, it’s a manageable DIY project. By following this step-by-step guide, you can achieve a precise and professional-looking trim on your granite countertop. However, if you are unsure about your skills or the tools required, it’s always a good idea to consult a professional to ensure the job is done correctly and safely. With the right approach, you can make your granite countertop fit seamlessly into your home renovation project.


